Tracking Button Click Events and Piggybacking into Campaign Manager 360’s Floodlight
Tracking specific button clicks on a page with a universal pixel and piggybacking into Campaign Manager 360's Floodlight involves two steps:
-
Create a universal pixel in Basis.
-
Piggyback your universal pixel into Campaign Manager 360’s Floodlight.
1. Create a Universal Pixel in Basis
Universal pixels can act as conversion pixels and audience pixels on multiple pages at once. This lets you use a single pixel on different pages on your website, and even place that pixel before your conversions or audiences are set up. See Universal Pixels for more information.
Before you create a universal pixel, identify the button click event you want to track. In this scenario, you track the Connect With Us button.

To create a universal pixel in Basis:
-
Go to Main Menu [
 ] > Pixels & Audiences.
 -
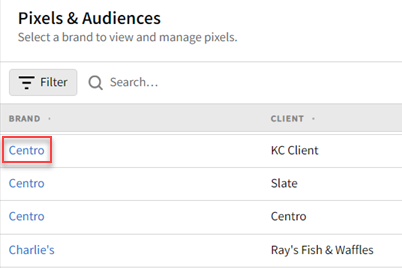
Select a brand. Use search, sort, or filters to find your brand.
-
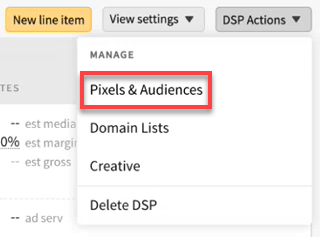
If you already added a DSP line item to a campaign, you can access pixels and audiences from the media plan by selecting DSP Actions > Pixels & Audiences from the line item.
-
-
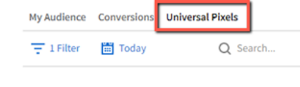
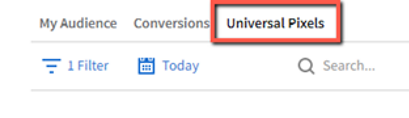
Select the Universal Pixels tab.
-
Click Create universal pixel.
-
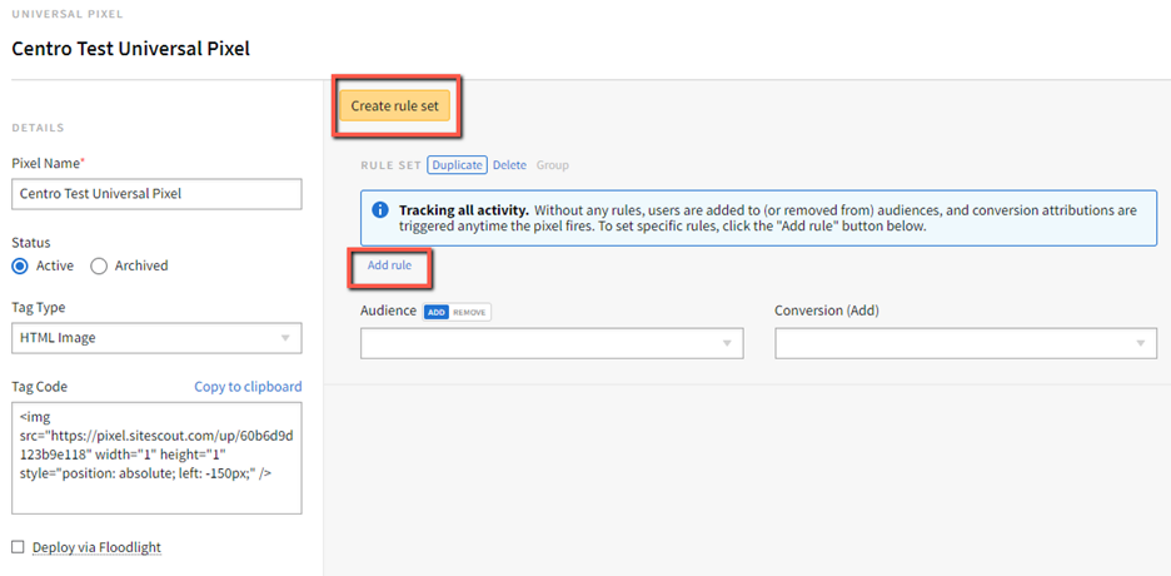
Enter a Pixel Name.
-
Click Create rule set.
-
Click Add rule to create a new Key/String rule to capture this button click event.
-
Set the Type to Key/String and Operator to Exactly Matches.
Keys and strings are case sensitive variables that you set to any alphanumeric values. They must exactly match what you enter for your universal pixel’s rule set.
-
Enter the Key and String. The variables for this scenario are button and connectwithus.
We don’t recommend leaving spaces in your key or string. They can render incorrectly as the pixel loads in your browser.
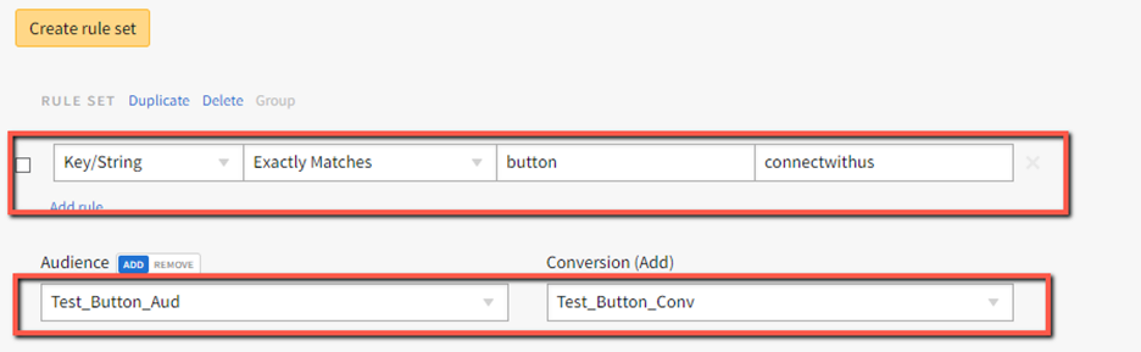
- Select the Audience or Conversion you want to link your universal pixel to. You must link to at least one audience or conversion before saving your pixel.
-
Click Add rule to create a new Key/String rule to capture this button click event.
-
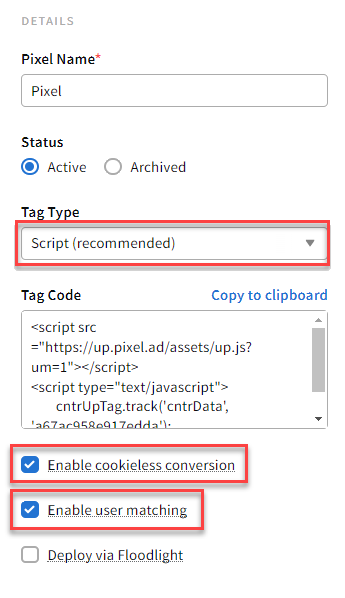
Confirm that the Tag Type is set to Script. Using a script pixel lets users take advantage of user matching and cookieless conversion attribution.
-
Enable Deploy via Floodlight.
-
Copy the Tag Code.
-
Click Save to create your universal pixel. Your universal pixel is now ready to be piggybacked into Campaign Manager 360.
2. Piggyback Your Universal Pixel into Campaign Manager 360’s Floodlight
Floodlight is an optional feature in Campaign Manager 360. It allows you to track and report on conversions—the actions of users who visit your site after viewing or clicking on one of your ads—and to set up an audience, which compiles lists of users who've performed specific actions on a site, then makes those users available for targeting by subsequent campaigns. See Google’s About Floodlight page for more information.
To piggyback your universal pixel into Floodlight:
-
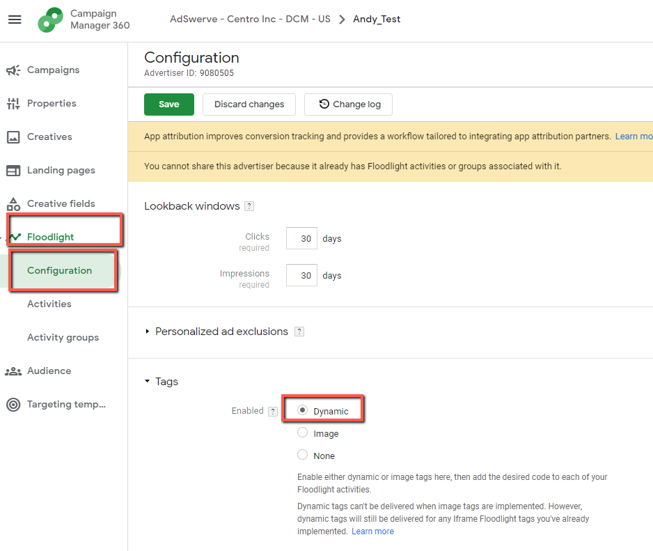
Log in to Campaign Manager 360, select an advertiser, then select Floodlight > Configuration.
-
Select the Tags section, then confirm that the selection is Dynamic.
-
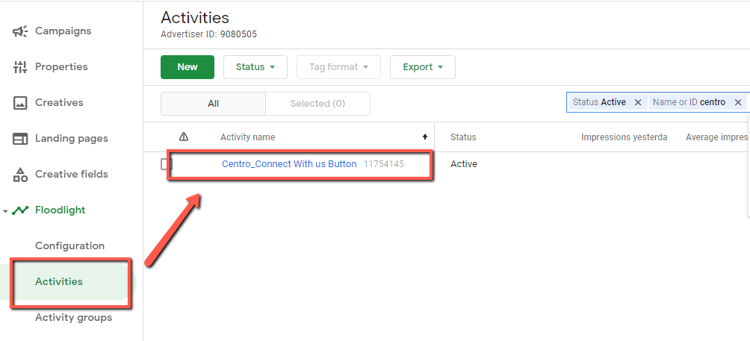
Select Activities, then locate and select your Floodlight.
-
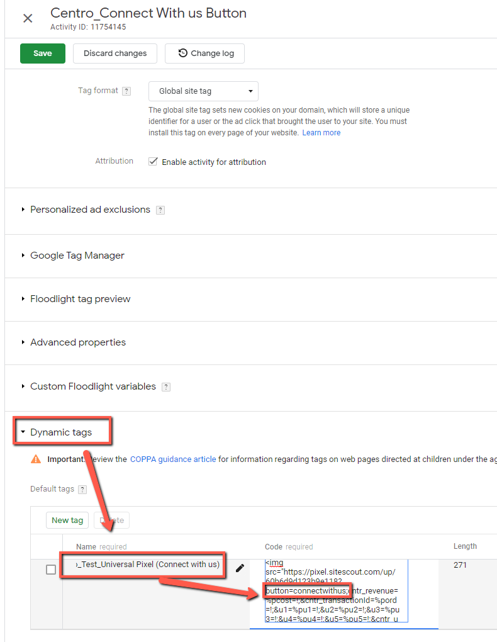
Select the Dynamic Tags section.
-
Click New Tag.
-
Enter your tag’s Name.
-
Paste your universal pixel’s tag code in the Code box.
-
Add the ?key=string amendment to the tag code, which is bolded in the examples below:
<img src="https://pixel.sitescout.com/up/60b6d9d123b9e118?key=string" width="1" height="1" style="position: absolute; left: -150px;" />
-
Insert the key and string variables from the rule set you created for your universal pixel into the amendment. For this scenario, the amended tag code looks like this:
<img src="https://pixel.sitescout.com/up/60b6d9d123b9e118?button=connectwithus" width="1" height="1" style="position: absolute; left: -150px;" />
-
Click Save. You’re now tracking a specific button click event with a universal pixel.
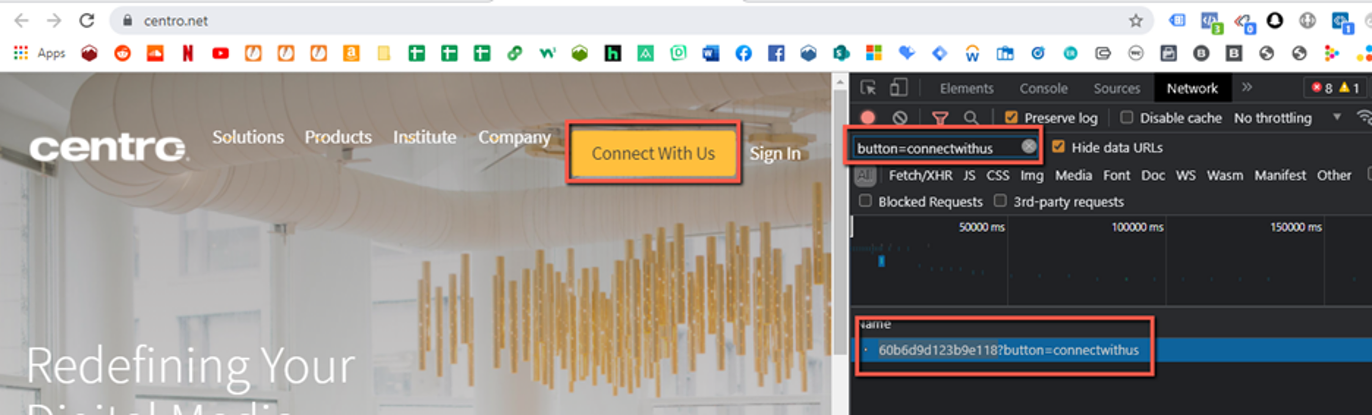
How to Check if Your Universal Pixel is Firing in Chrome
After the GTM container has been published, check if your universal pixel is firing on all pages correctly in a live environment.
To check if your universal pixel is firing in Chrome:
-
In Google Chrome, select Chrome’s Menu icon > More tools > Developer tools (Ctrl+Shift+I) on the newly pixeled page to open the Developer tools panel.
-
Select the Network tab.
-
Search for the key value, button=connectwithus in this case, then click the specified button to see if your universal pixel fires in real time.