Tracking Landing Page View Events with Google Tag Manager
Tracking Landing Page View (LPV) events with a universal pixel in Google Tag Manager (GTM) involves two steps:
-
Create a universal pixel in Basis.
-
Create a tag for your universal pixel in GTM.
1. Create a Universal Pixel in Basis
Universal pixels can act as conversion pixels and audience pixels on multiple pages at once. This lets you use a single pixel on different pages on your website, and even place that pixel before your conversions or audiences are set up. See Universal Pixels for more information.
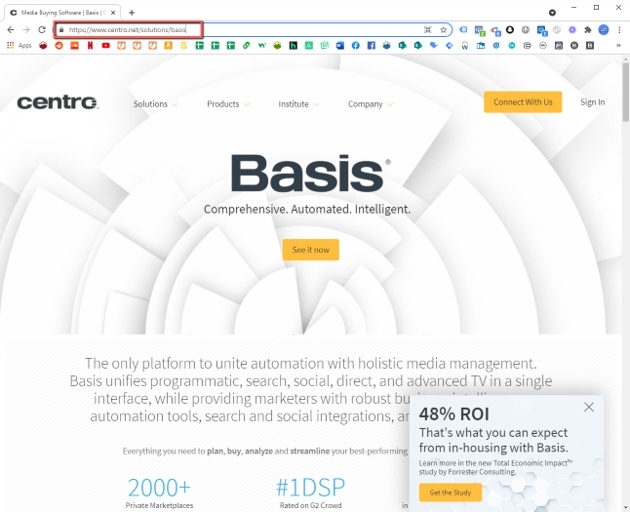
Before you create a universal pixel, copy the URL of the page you want to track. In this scenario, we are tracking how many users have reached the centro.net/solutions/basis page.
To create a universal pixel in Basis:
-
Go to Main Menu [
 ] > Pixels & Audiences.
 -
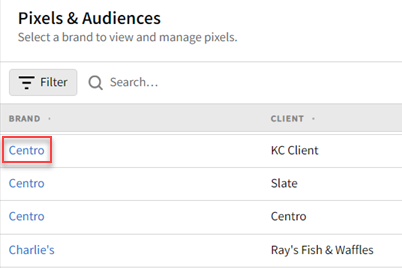
Select a brand. Use search, sort, or filters to find your brand.
-
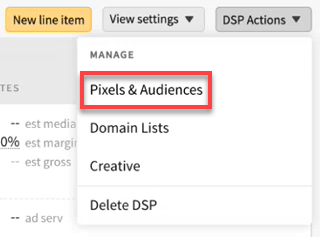
If you already added a DSP line item to a campaign, you can access pixels and audiences from the media plan by selecting DSP Actions > Pixels & Audiences from the line item.
-
-
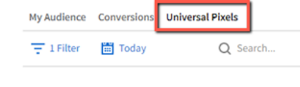
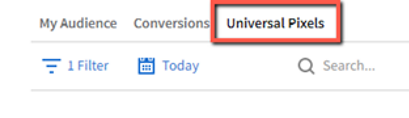
Select the Universal Pixels tab.
-
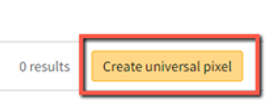
Click Create universal pixel.
-
Enter a Pixel Name.
-
Click Create Rule Set.
-
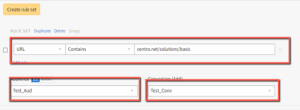
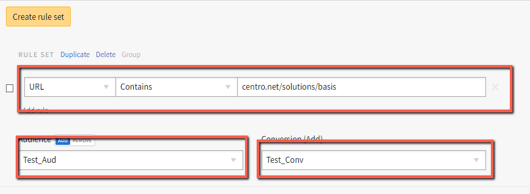
For LPV rule sets, set the Type to URL and the Operator to Contains. This encompasses the URL both with and without UTM Codes or any other URL add-on’s that might come through in the trafficking process. LPV rule sets are one of the simplest events to configure with universal pixels in Basis. See Universal Pixels for more information.
-
Paste the URL of the page you want to track after “https://www.” in the URL field.
Basis doesn't allow the “https://www.” portion of the URL to be included in your rule set.
-
Assign any Audience and Conversion pixels to your rule set. You must link to at least one audience or conversion before you can save your universal pixel.
We place the universal pixel across all pages to control all the rule sets on the backend in Basis. If you want to create a second, third, or more LPV rule sets in Basis, the universal pixel is placed and ready to accept those new rule sets.
-
Click Save to create your universal pixel.
2. Create a Tag for Your Universal Pixel in GTM
After you install your GTM Container on all pages of your site, create a tag. A tag is made up of two components: tag configuration and triggering. Tags are segments of code provided by analytics, marketing, and support vendors to help you integrate their products into your websites or mobile apps. With GTM, you no longer need to add these tags directly to your projects. You configure and publish tags from within GTM. See Google's About Tags page for more information.
To create a tag:
-
Log in to GTM.
-
From the Workspace tab, select Tags, then click New.
-
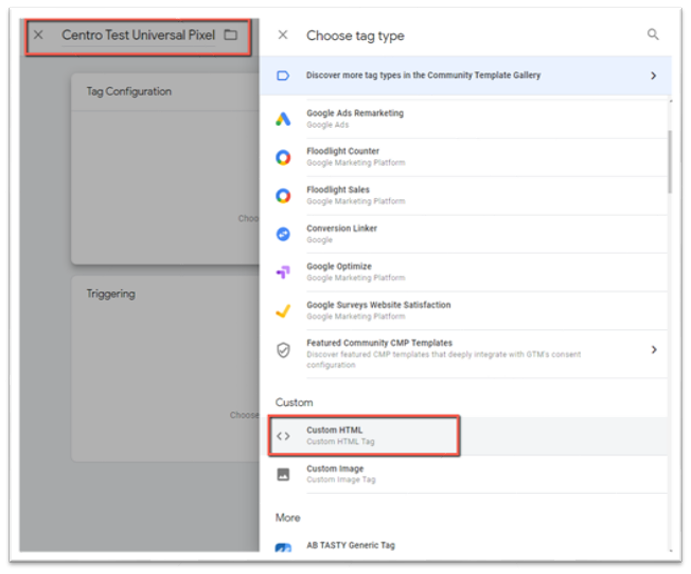
Click inside the Tag Configuration box to open the Choose tag type panel.
-
In the Custom section, select Custom HTML.
-
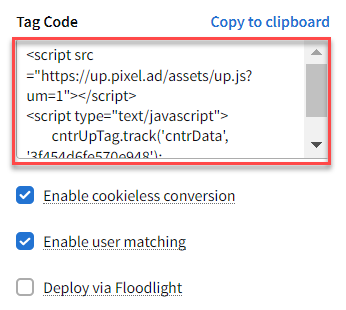
In Basis, go to your universal pixel and copy its Tag Code.
-
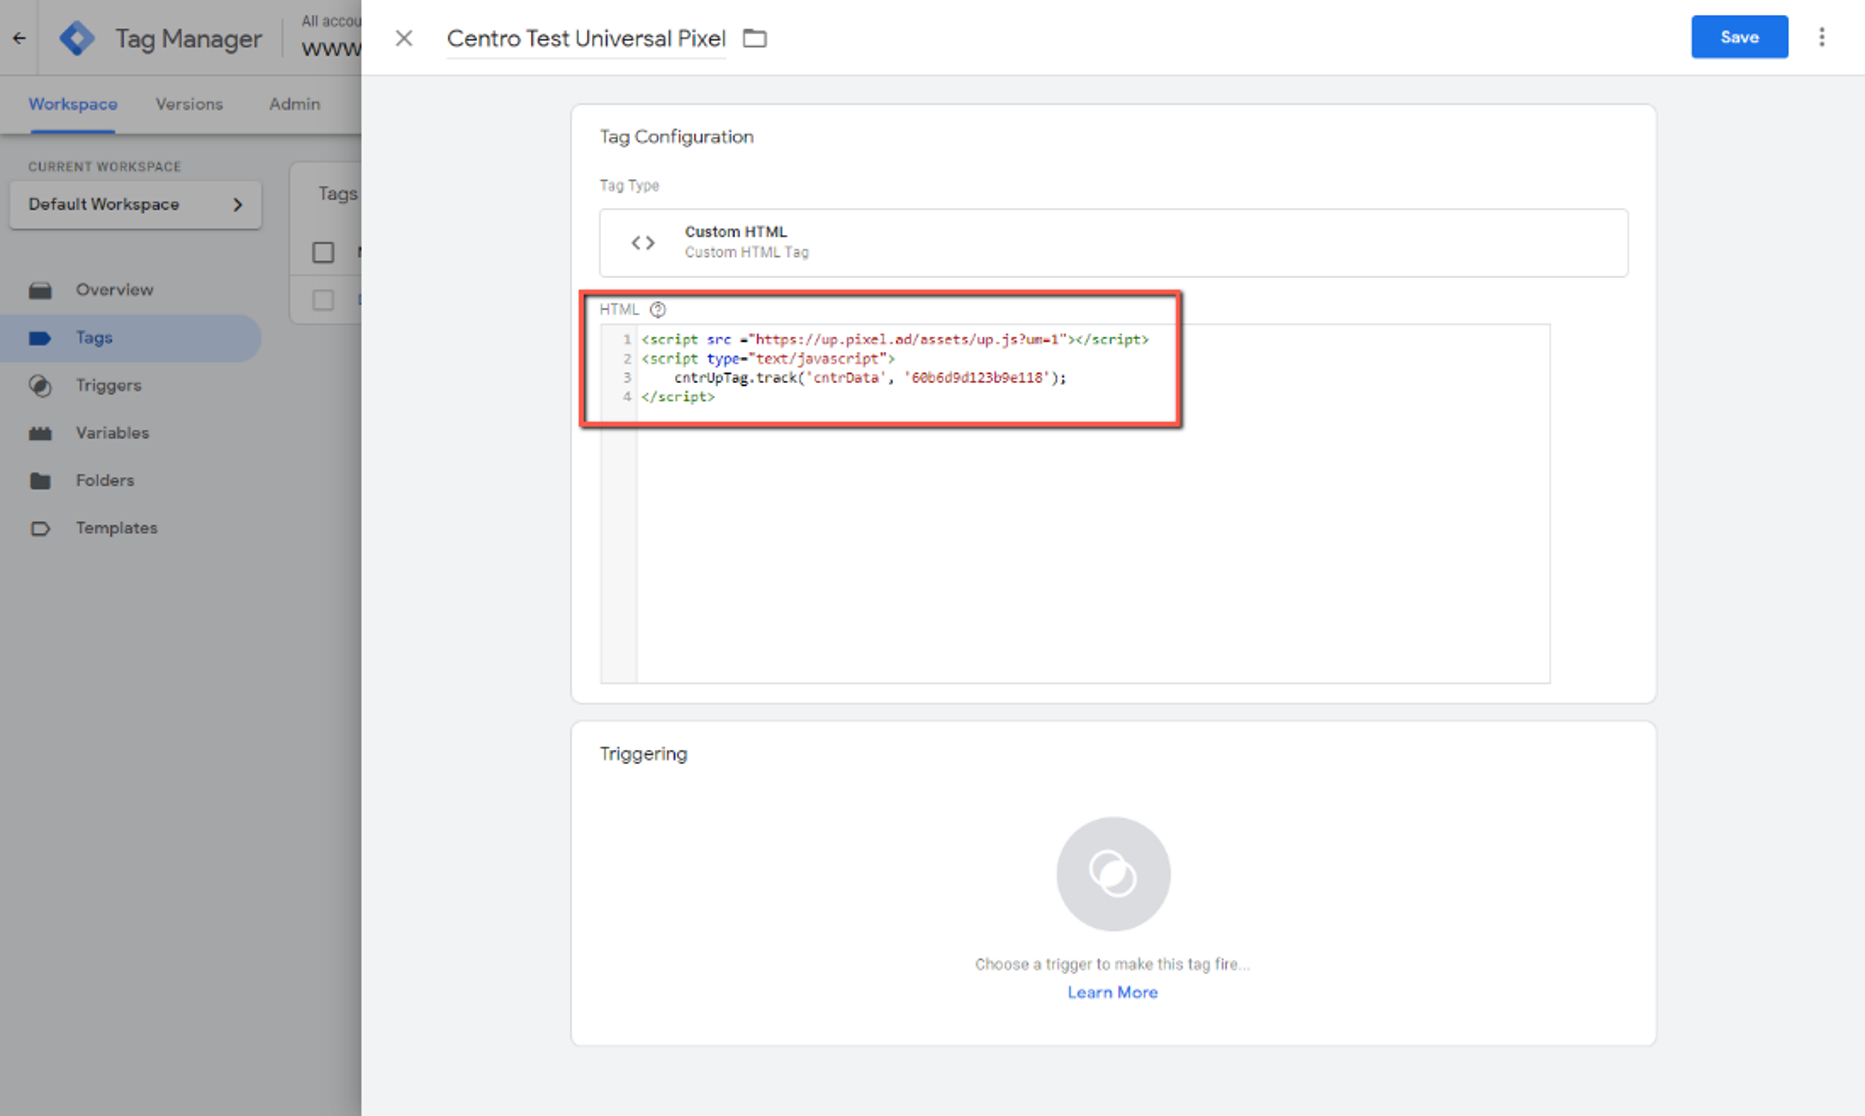
In GTM, go to your custom HTML pixel and paste your universal pixel’s tag code into the HTML box.
-
Click Save to create a new tag for your universal pixel.
After you create a tag, create and apply a trigger to your universal pixel. A trigger scans your web page or mobile app for certain types of events like form submissions, button clicks, or page views. The trigger tells the tag to fire when it detects the specified event. Every tag must have at least one trigger to fire. See Google's About Triggers page for more information.
To apply a trigger:
-
Click inside the Triggering box to open the Choose a trigger panel.

-
Select All Pages. This trigger comes preset in all GTM containers and will apply your universal pixel to all pages that are included in the GTM container.

-
Click Save.
-
Enter a Tag Name.
-
Click Save. You are now tracking LPV events with a universal pixel in GTM.
How to Check if your Universal Pixel is Collecting Data in Basis
In Basis, check back in 24 Hours (or more depending on the event) to see if there are hits on the associated BDSP Audience / Conversion pixels.

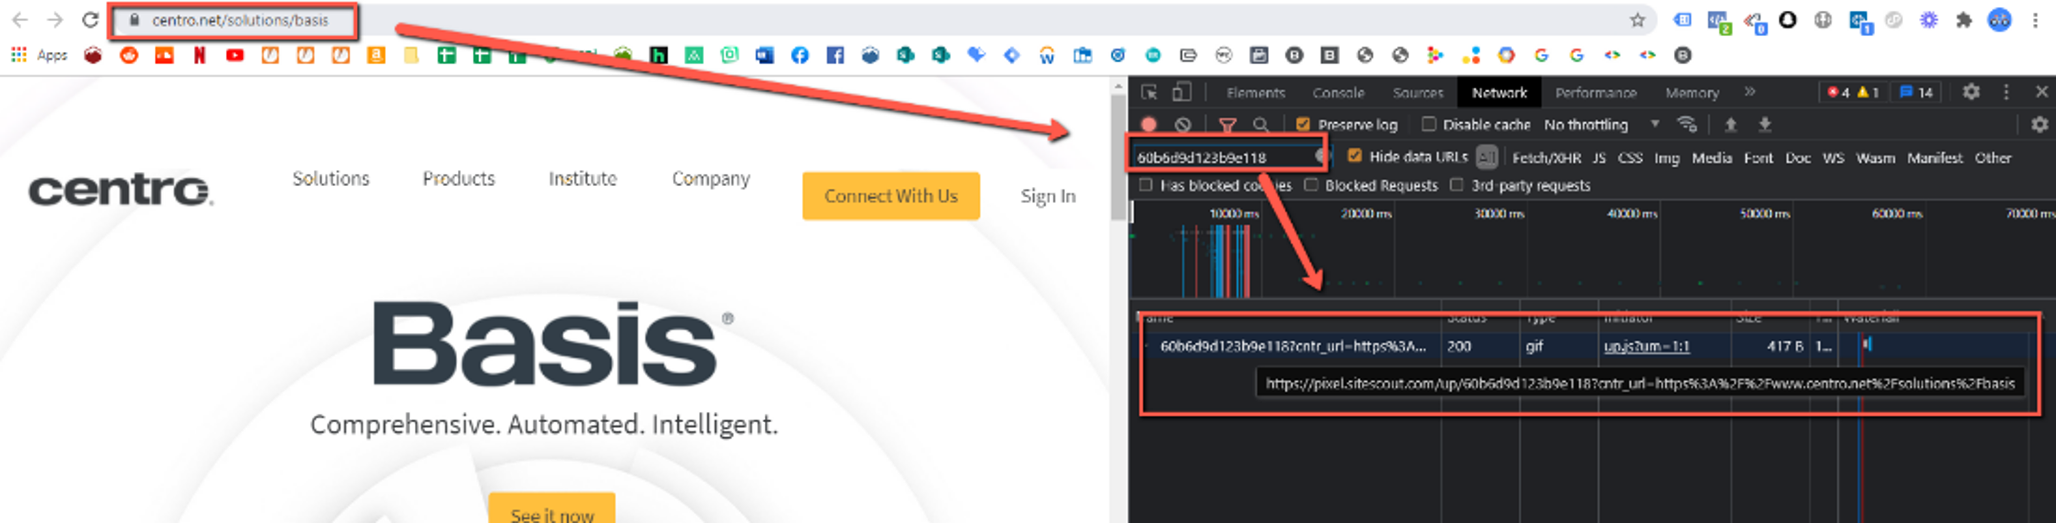
How to Check if your Universal Pixels is Firing in Chrome
After the GTM container has been published, check if your universal pixel is firing on all pages correctly in a live environment.
To check if your universal pixel is firing in Chrome:
-
In Google Chrome, select Chrome’s Menu icon > More tools > Developer tools (Ctrl+Shift+I) to open the Developer tools panel.
-
Select the Network tab.
-
Search for the Pixel ID using the Filter box, “60b6d9d123b9e118” in this case, refresh the page while the Developer tools panel is still open, then see if the universal pixel fires.