Tracking Single Page Application Events with Google Tag Manager
Tracking specific single page application events on a page with a universal pixel in Google Tag Manager (GTM) involves three steps:
-
Create a Universal Pixel in Basis.
-
Call the Universal Tracking Function on the Web Page.
-
Create the Tag and Trigger for Your Universal Pixel in GTM.
1. Create a Universal Pixel in Basis
Universal pixels can act as conversion pixels and audience pixels on multiple pages at once. This lets you use a single pixel on different pages on your website, and even place that pixel before conversions or audiences are set up. See Universal Pixels for more information.
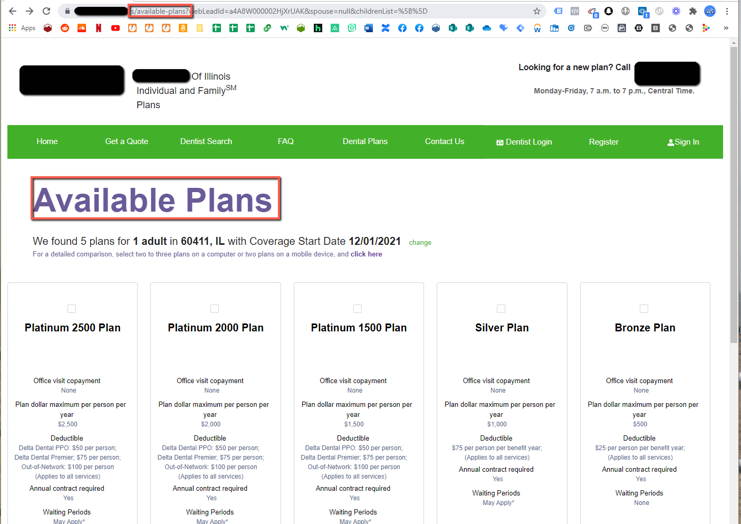
Before creating a universal pixel, identify the URL and the single page application event that you want to track. In this scenario, you’ll gather audience data from the Available Plans page.
To create a universal pixel in Basis:
-
Go to the media plan:
-
Go to Main Menu [
 ] > Campaigns.
- Select the campaign and media plan.
-
Go to Main Menu [
-
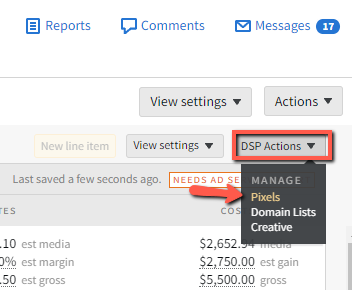
Select DSP Actions > Pixels on the upper-right corner of the DSP line items to create the universal pixel for this advertiser.
-
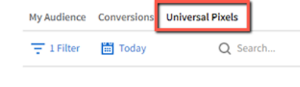
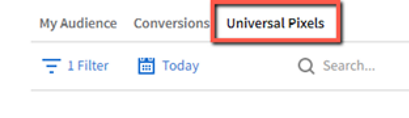
Select the Universal Pixels tab.
-
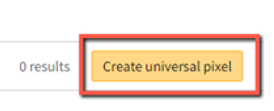
Click Create universal pixel.
-
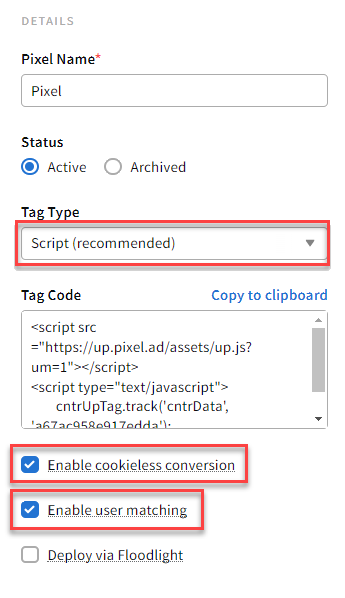
Enter a Pixel Name.
-
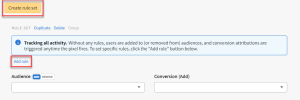
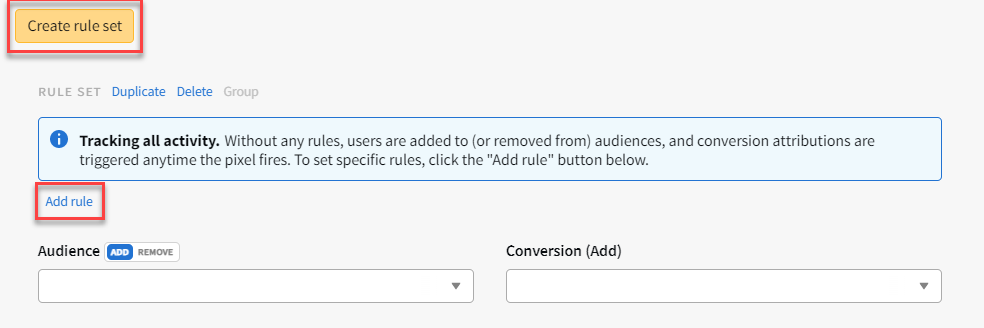
Click Create rule set.
- Click Add rule to create a new Key/String rule to capture this single page application event.
-
Set the Type to Key/String and Operator to Exactly Matches.
Keys and strings are case sensitive variables that are set to any alphanumeric values. They must exactly match the universal pixel’s rule set.
-
Enter the Key and String. The variables for this scenario are page and availableplans.
We don’t recommend leaving spaces in the key or string. They can render incorrectly as the pixel loads in the browser.
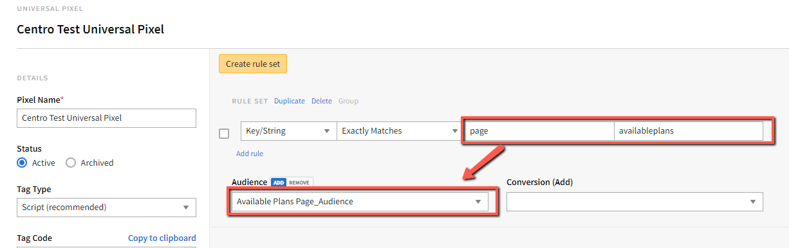
- Set the Audience to Available Plans Page_Audience to link the universal pixel to an audience. Link to at least one audience or conversion before saving your pixel.
-
Confirm that the Tag Type is set to Script. Using the script pixel lets users take advantage of user matching and cookieless conversion attribution.
-
Copy the Tag Code.
-
Click Save to create the universal pixel. This universal pixel is now ready to be placed in GTM.
2. Call the Universal Tracking Function on the Web Page
We recommend using this method for setting up a universal pixel to fire on non-page-view events because it's most suitable for tracking an event that doesn't cause users to go to a new page. See Universal Pixel Script for more information on placing the pixel script and JavaScript for data objects into web pages.
Separate the loading of the “up.js” script from the calling of the cntrUpTag.track() function. For example, load only the “up.js” script in the HEAD or BODY section of the page, and then call cntrUpTag.track() when users take the desired action.
To call the universal pixel tracking function:
-
Copy the universal pixel's Tag Code, then paste it in the HEAD or beginning of the BODY section of the page.
-
Call the
cntrUpTag.track()function when the desired action happens, such as when the user clicks a button. One way to achieve this could be as follows:<button type="button" onclick="cntrUpTag.track('cntrData', '1234ab5678c9d')">Add to cart</button>
There are various ways to accomplish this, and the ideal solution may vary based on your website's code. Provide this information to a web developer to determine the best approach for your website.
3. Create the Tag and Trigger for Your Universal Pixel in GTM
After installing your GTM Container on all pages of the site, create the tag. A tag is made up of two components: tag configuration and triggering. Tags are segments of code provided by analytics, marketing, and support vendors to help integrate their products into websites or mobile apps. With GTM, you no longer need to add these tags directly to your projects. You configure and publish tags from within GTM. See Google's About Tags page for more information.
To create the tag:
-
Log in to GTM.
-
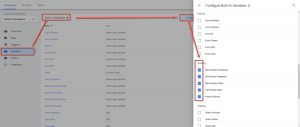
From the Workspace tab, select Variables, then click Configure.
-
Click inside the Tag Configuration box to open the Choose tag type panel.
-
In the History section, enable all five variables.
-
Select the Tags tab, then click New.
-
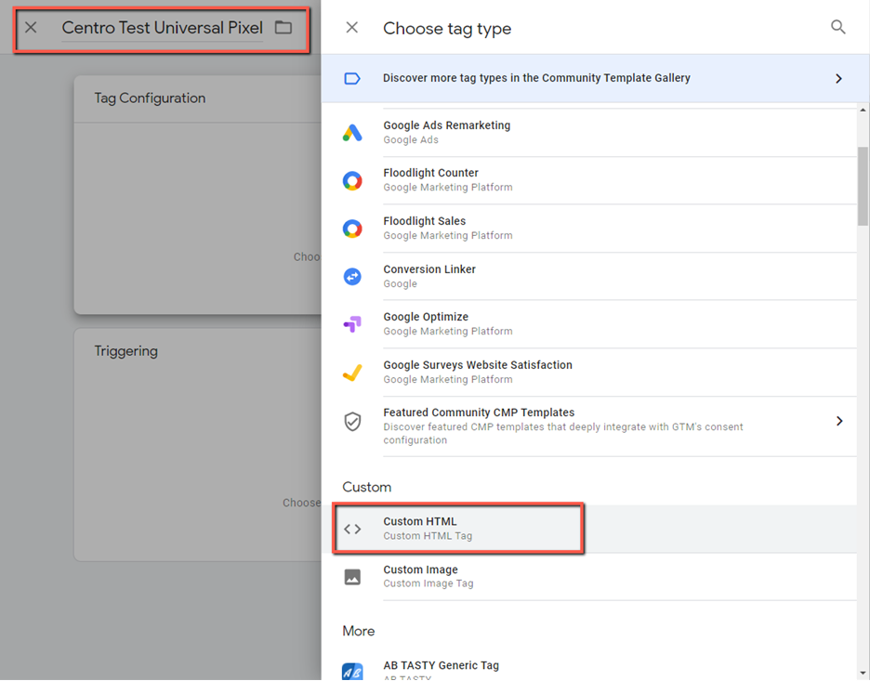
Click inside the Tag Configuration box to open the Choose tag type panel.
-
In the Custom section, select Custom HTML.

-
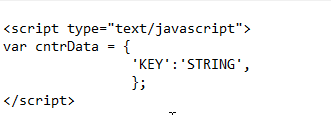
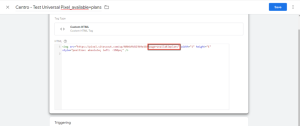
Paste your universal pixel’s tag code into the HTML box.
-
Add the Key and String amendment to the tag code.
-
The following screenshot is an example:
-
-
Click Save to create a new tag for your universal pixel.


After creating the tag, create and apply the trigger to your universal pixel. A trigger scans the web page or mobile app for certain types of events like form submissions, button clicks, or page views. The trigger tells the tag to fire when it detects the specified event. Every tag must have at least one trigger to fire. See Google's About Triggers page for more information.
To create and apply the trigger:
-
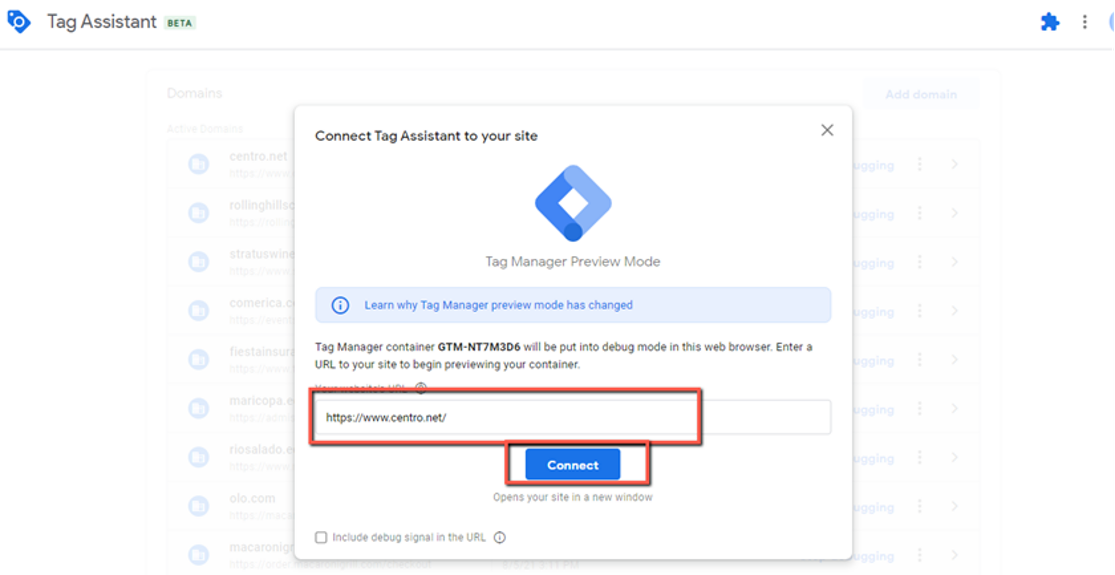
From GTM’s Workspace tab, click Preview to identify the triggering variables that fire the single page application. Tag Assistant opens.
Tag Assistant helps you verify that you have installed various Google tags correctly on your page. Tag Assistant tells you which tags are present, reports any errors, and suggests improvements that can be made to your implementation. See Google's Tag Assistant page for more information.

-
In the Your website’s URL field, enter the URL of the page where the application submission button is located.
-
Click Connect. A window opens with the specified page.
-
Click Continue.
-
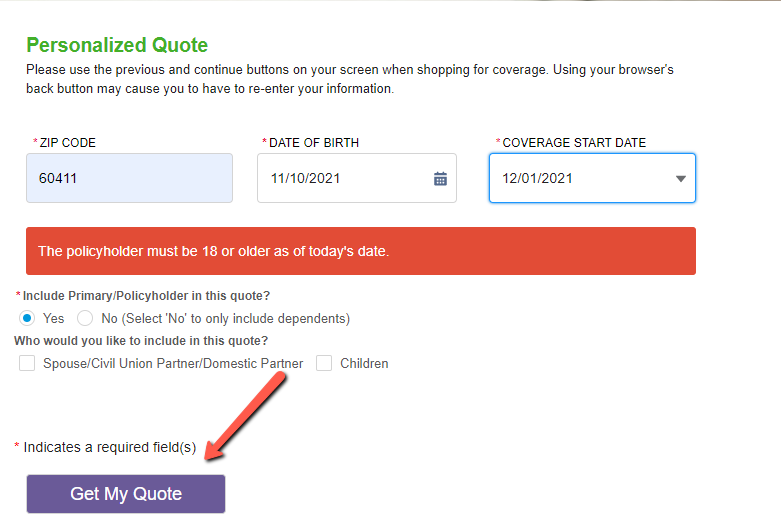
In the window with the specified page, fill out the Personalized Quote application, then click Get My Quote.
-
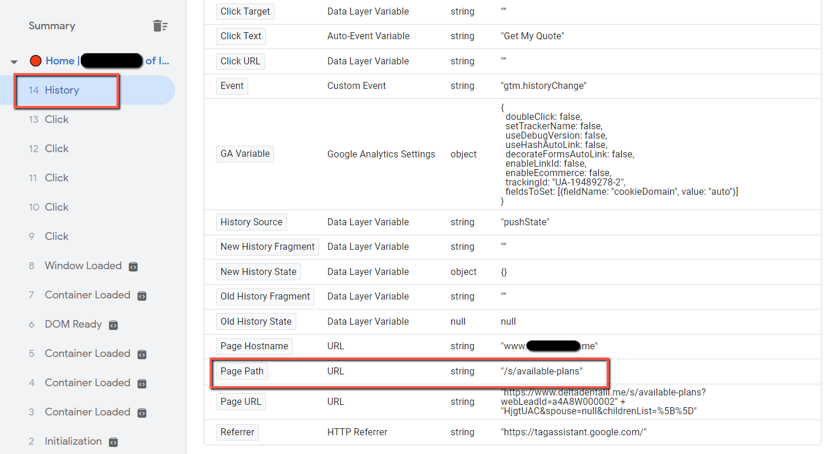
In Tag Assistant’s Summary panel, locate and select the first History event, which is numbered and grouped with the page where the click occurred. Since you only clicked once, you know this is the single page application event associated with the Available Plans page.
-
Select the Variables tab to locate the triggering variables. In this case, look for Page Path. We recommend taking a screenshot of the variables to use as a reference when creating a new trigger.
-
From GTM’s Workspace tab, select Triggers.
-
Click New to create the new trigger.

-
Click inside the Tag Configuration box to open the Choose trigger type panel.
-
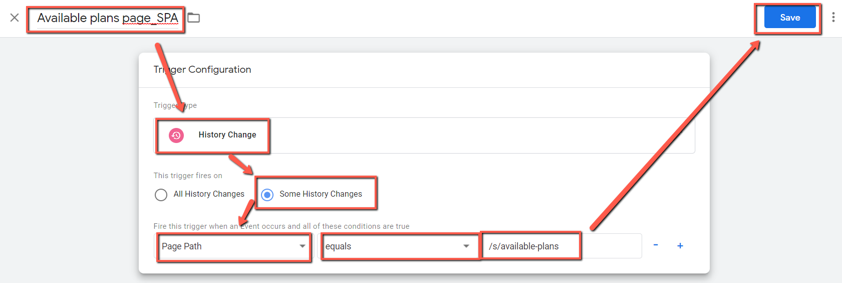
In the Other section, select History Change.
-
Select Some History Changes to set what the trigger fires on.
-
Set the trigger conditions to Page Path and equals. Refer to your screenshot for the third condition, /s/available-plans.
-
Click Save.
-
Enter a Trigger Name, then click Save to create the new trigger.
-
After creating the trigger, apply it to the universal pixel.
- From the Workspace tab, select Tags.
- Select the new tag.
- Click inside the Triggering box.
- Click + to apply the new trigger.
- Click the Search icon, then enter the trigger’s name.
- Select the trigger.
- Click Save. The trigger is applied to your universal pixel. You’re now tracking a specific single page application event with a universal pixel.

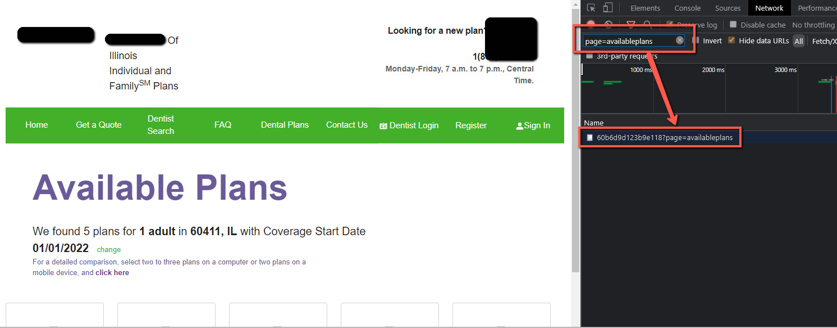
QA – How to Check if the Universal Pixel is Firing in Chrome
After the GTM container has been published, check if the universal pixel is firing on all pages correctly in a live environment.
To check if your universal pixel is firing in Chrome:
-
In Google Chrome, select Chrome’s Menu icon > More tools > Developer tools (Ctrl+Shift+I) on the newly pixeled page to open the Developer tools panel.
-
Select the Network tab.
-
Search for the key value, page=availableplans in this case, then click the specified button to see if the universal pixel fires in real time.