Creating Flights
Flights are ads scheduled to run during a campaign, with start and end dates during a specified period of time during the campaign. Flights allow running ad variations automatically at these specific times. If you have multiple flights, the next flight's start date is after the previous flight's end date.
You add flights to a line item in the campaign's media plan.
Adding Flights to a Line Item
To add flights to a line item:
-
Go to Main Menu [
 ] > Campaigns, then select your campaign.
 -
Open a media plan.
-
Create a line item or click Edit on an existing line item.
-
Select Add Flight from the line item's Options [
 ]. The line item is copied with all the same information, except for the dates. If you use a naming convention, the flight includes it.
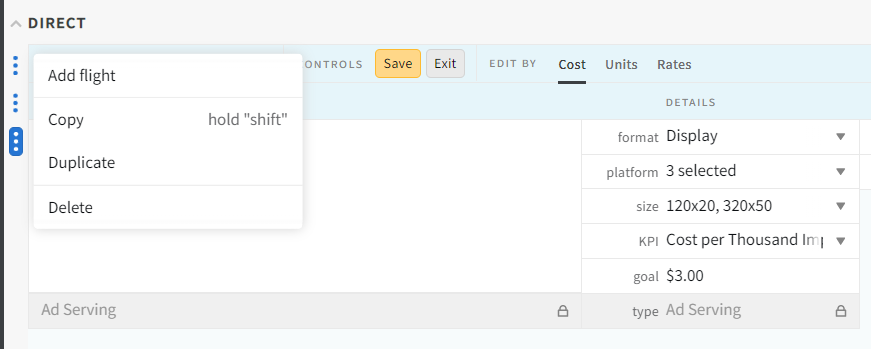
-
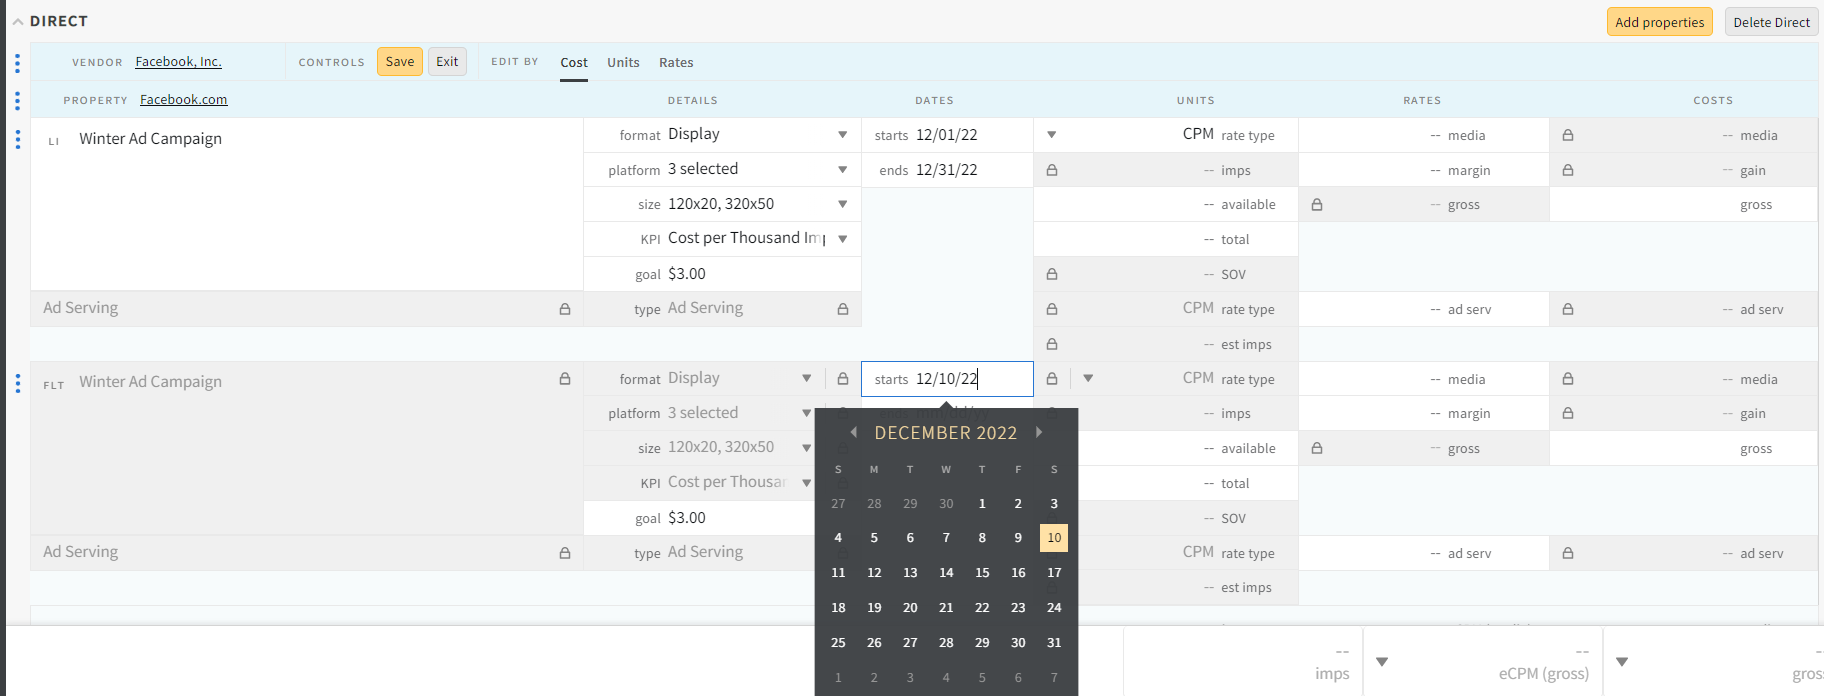
Enter or select the start and end dates from the date picker.
-
(Optional) Modify any flight fields if applicable.
-
(Optional) Enter ad serving estimated impressions and an ad serving rate if applicable.
-
Click Save.
Deleting a Flight
To delete a flight:
-
Make sure the media plan is in Edit mode.
-
Select Delete from the flight's Options [
] -
Click Save. The flight appears crossed out until you click Save.