Approving a Plan
![]()
Check out our AdTech Academy Course on the RFP process!
A media plan must be approved before the campaign can go live.
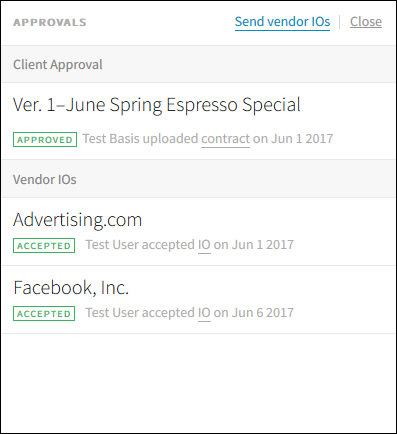
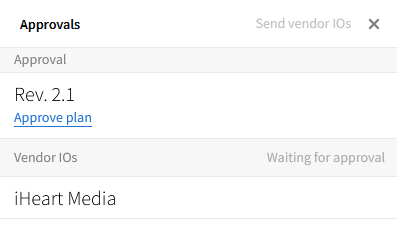
The Approvals panel shows the media plan's status and any revisions. You can also view the contracts or IOs on this panel. Select an approval to view its approval history.
If the campaign is not associated with a vendor, such as when the payee is configured as Insertion Order: Not Applicable, the media plan automatically shows the Approved status after client approval.
To approve a plan:
-
Go to Main Menu [
 ] > Campaigns.
 -
Select the campaign, then select the media plan or revision that you want to approve.
-
Select Actions > Approvals.
-
Click Approve plan.
-
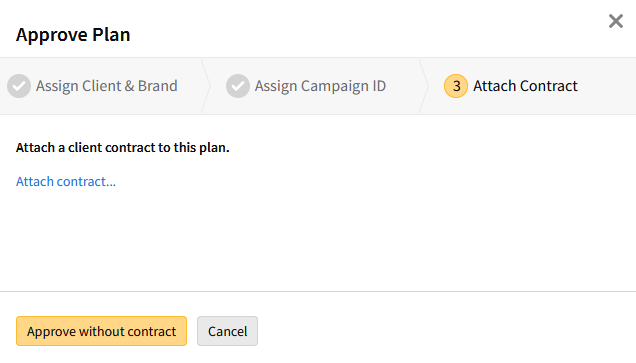
Select Assign Client & Brand or Assign Campaign ID to review or update the plan's client, brand, or ID.
-
Advantage Users only: Review or select the Advantage IDs on the Assign Campaign ID tab. You can select a Division ID, Product ID, Campaign ID, and Sales Class ID.
-
-
Select Attach Contract, then select Attach contract to upload a contract, if necessary.
-
Strata Users only: Select Export to Strata. You must have a Strata Estimate ID to export.
-
If you attached a contract, select Approve. If you didn't attach a contract, select Approve without contract.