Creating Audience Pixels
![]() Check out our AdTech Academy courses on First Party Data and Audience Targeting!
Check out our AdTech Academy courses on First Party Data and Audience Targeting!
Audience pixels allow you to build a list users who visit a particular webpage and then re-engage them with tactics designed to bring them back to your site (retargeting).
Hits are the cumulative visits on a website, which increment approximately every 15 minutes. For hits to increment, you must be able to add a user to the audience. In other words, we must be able to set a cookie or have a mobile IFA passed to us, and there aren't any obstacles due to privacy regulations, such as GDPR.
Audience pixels are scoped at the brand level--use the audiences you create with any tactic in a campaign for that brand.
To create an audience pixel:
-
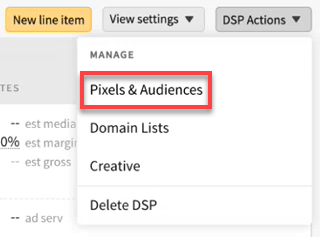
Go to Main Menu [
 ] > Pixels & Audiences.
 -
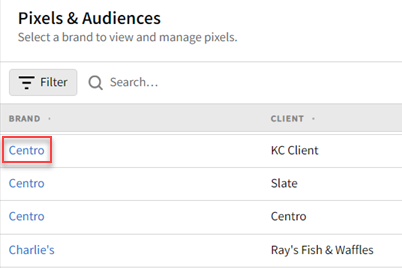
Select a brand. Use search, sort, or filters to find your brand.
-
If you already added a DSP line item to a campaign, you can access pixels and audiences from the media plan by selecting DSP Actions > Pixels & Audiences from the line item.
-
-
Select the My Audience tab.
-
Click Create audience.
-
Enter a Pixel Name (50 characters maximum.)
-
Enter any Notes about this audience you want to include.
-
Click Create. Your pixel appears on the My Audiences tab, and you can now get the tag to place this pixel on your website. See Getting Audience and Conversion Pixel Tags for more information, including a description of each tag type.
![]()