Getting Audience and Conversion Pixel Tags
A pixel tag is the code that you need to include in a web page's HTML to record when the page is viewed or when a user takes an action. This alerts the DSP that a conversion has taken place or identifies a user who should be added to an audience.
The tag code becomes available as soon as you create a pixel.
The steps below apply to audiences and conversions. For universal pixel tag codes, see Universal Pixels.
To get tags for audience and conversion pixels:
-
Go to Main Menu [
 ] > Pixels & Audiences.
 -
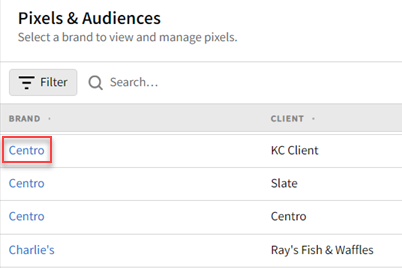
Select a brand. Use search, sort, or filters to find your brand.
-
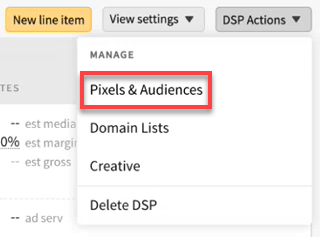
If you already added a DSP line item to a campaign, you can access pixels and audiences from the media plan by selecting DSP Actions > Pixels & Audiences from the line item.
-
-
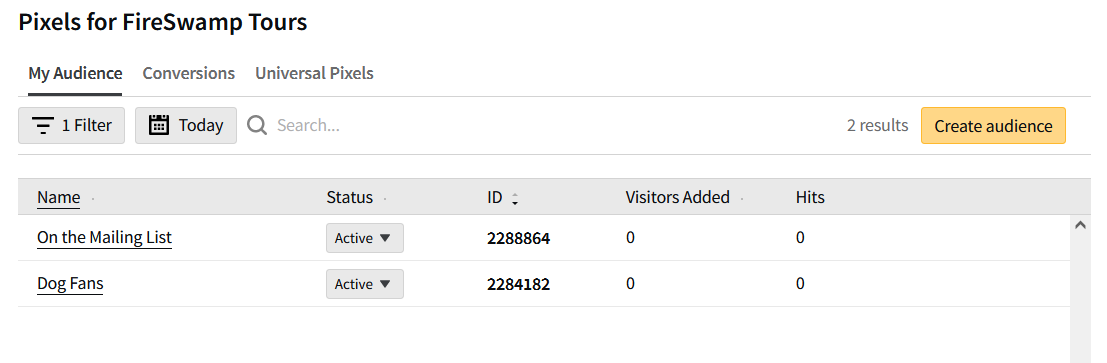
Select a tab to view different types of pixels: My Audience or Conversions.
For universal pixel tags, see Universal Pixels
-
Select a pixel, then click Tag Code to see the pixel's tag.
-
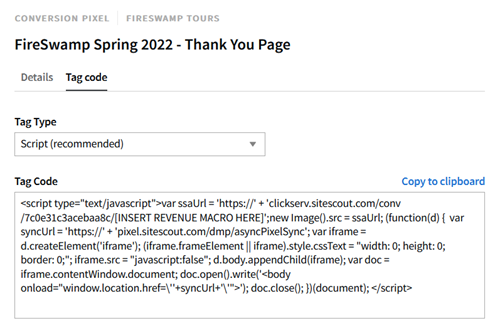
Select a Tag Type. See the table below for a description of each type.
-
Select and copy the code in the text box or click Copy to clipboard. Add the pixel to your website by placing the tag code anywhere in the body of the landing page or website before the closing <body> tag.
Tag Types
| Tag Type | Description |
|---|---|
|
Script |
Provides a script that fires the pixel when the user views the page. The script tag uses JavaScript to add the user to the audience as well as perform additional functions that ensure maximum scale for campaigns targeting the audience. Script tags also automatically use HTTP or HTTPS as required for the page they are placed on. We recommend using script tags whenever possible. See Understanding Script Tags for more information |
|
HTML Image |
Provides an image tag (sized 0 pixels by 0 pixels--users will not see an image) that fires the pixel when the user views the page. This option should only be used if the script version cannot be used. This option might be applicable when using certain tag managers that only support image pixels, or if a client has concerns about additional user sync pixels being loaded. |
|
Postback |
Conversion pixels only. Provides tracking without relying on browser cookies. This let you track conversions even when you cannot place a conversion pixel or when the conversion happens outside of a browser. |
|
Redirect Link |
If you wish to track the user when they click on a link, use the redirect link option. This option tracks the user actions or adds users to an audience, and then redirects them to the specified URL. Enter the Link URL Text and Link Text before copying the tag code. |
|
Mapping URL |
Audiences only. The mapping URL option is intended for mobile audience building. It can be fired server-side or client-side. Use this option if you have access to mobile advertising IDs (Google Advertising ID, iOS IDFA) and want to add these to audiences. Typically, the mapping URL is used in a mobile tracking platform, and the tracking platform provides a macro that expands to the user's advertising ID. Replace the string |
|
Javascript Link |
Conversion pixels only. Provides a link to place on your website. When clicked, it calls the pixel to track the conversion and sends the user to the destination page. This option could be useful if you do not have access to the target page and cannot track it, for example. |