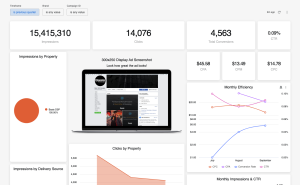
Adding Data Canvas Tiles and Text
After you have created a dashboard from one of the templates, add additional tiles directly from your dashboard. You can also add text tiles to create descriptions and heading sections, or to add custom logos and icons.
As you add tiles to a dashboard, they are automatically sized and placed at the bottom of the dashboard, but you can move and resize tiles however you like.
If you find it's taking a long time for your tile query to finish updating, try shortening the date period using the Data Delivered On filter to reduce wait times.
Adding a Tile from Within a Dashboard
Add new tiles from inside the dashboard.
To add a tile:
-
Go to Main Menu [
 ] > Data Canvas, and select your client.
 -
Select the dashboard from the dashboard list.
-
Select Edit dashboard from the dashboard's Options [
 ].
]. -
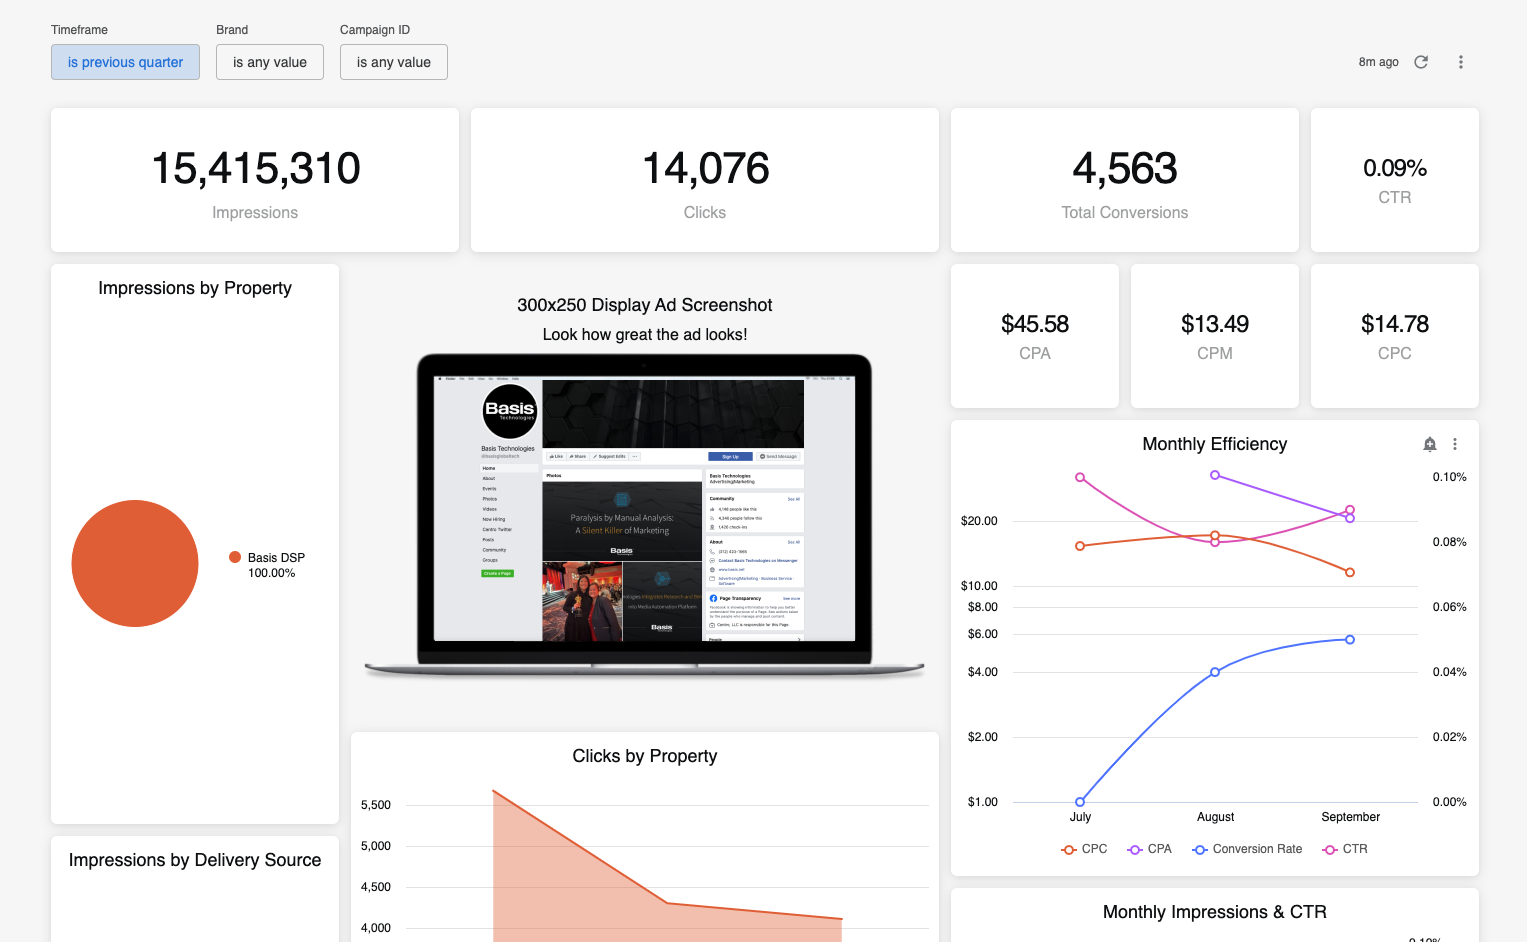
Click Add from the from the upper left of the dashboard pane, then select Visualization.
-
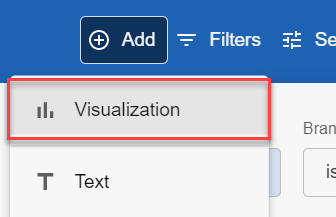
Select Basis Data from the Choose an Explore window.
-
The Basis Data Explore modal opens.
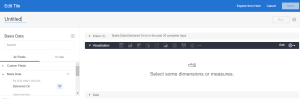
In the Basis Data Explore modal:
-
Type in the Untitled text to enter a name for your tile.
-
Select fields and filters from the field picker.
-
Select a visualization and configure the settings.
You must have at least one field selected before you can select a visualization.
-
-
After you have finished setting up your tile, click Run.
-
Click Save to save the tile on your dashboard.

Duplicate a Tile
To duplicate a tile:
-
Go the dashboard's edit mode.
-
Click Duplicate tile from the tile's Options [
]. -
A duplicate tile with the same query and visualization settings is created, and the new tile is moved to the bottom of the dashboard.
-
Edit the tile's size, title, fields, and adjust the visualization.
Adding Text to Dashboard
Add text tiles to define visual sections on a dashboard and add descriptions.
To add a text tile:
-
Go to the dashboard's edit mode.
-
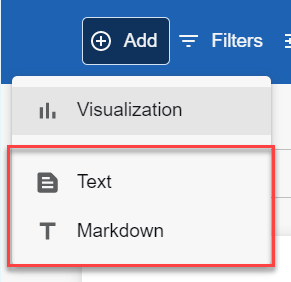
Click Add from the upper left of the dashboard, then select one of the following:
-
Text: This option opens the WYSIWYG text editor, and includes font and style options that lets you to see the final display of the text tile as you edit.
-
Markdown: This option uses plain text, and you can use some HTML to style and customize your text tile.
-
-
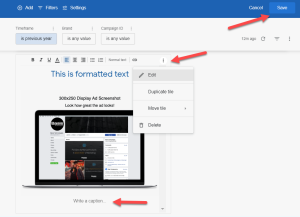
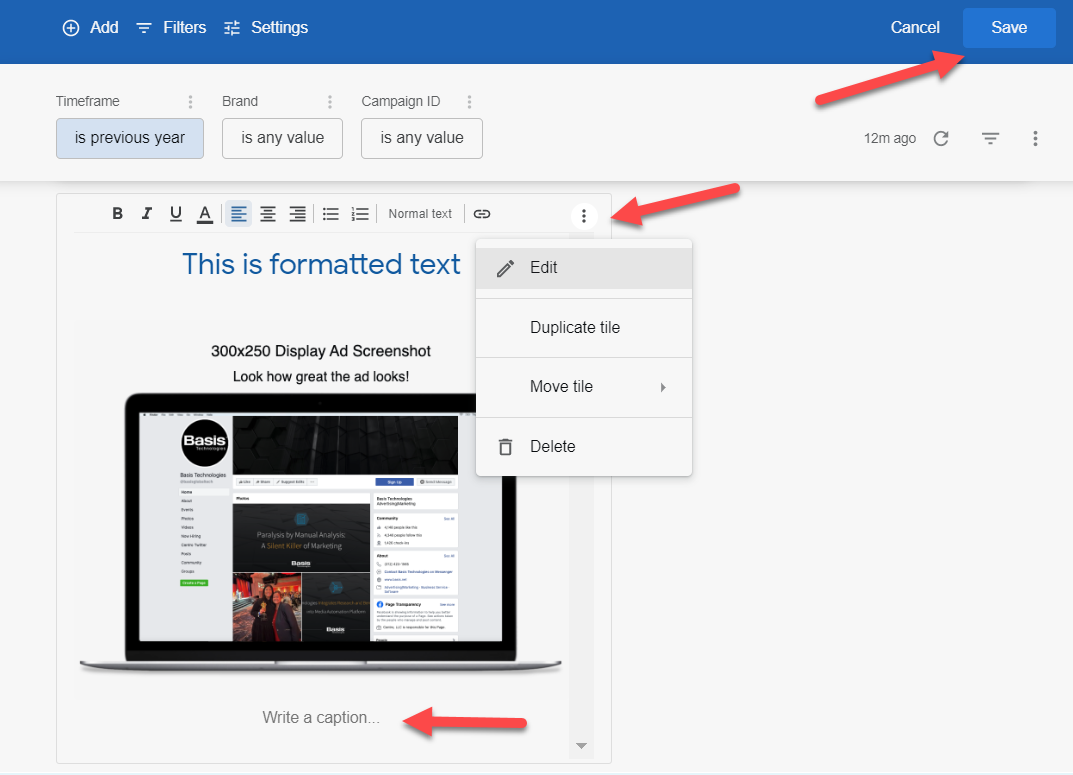
If using the Text option, add and customize your text, then click Save at the top of the edit bar. Use the Options [
] at the top-right corner of the tile to edit, duplicate, move, or delete the tile. You can also copy and paste an image into the tile. If you want to write a caption for your image, a prompt appears under the image.
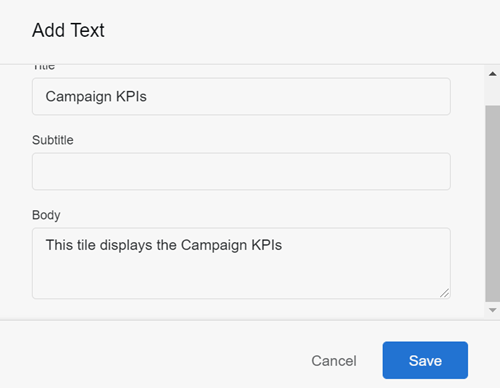
If using the Markdown option, add a title, subtitle, and body in the Add Text modal, then click Save.
-
Your text tile is automatically placed at the bottom of the dashboard. It can then be moved and resized.
Customizing Markdown Text Tiles
If using the Markdown text tile option, further customize text tiles by creating heading levels or formatting the text in the Body section of the Add Text modal. If using the WYSIWYG option, you can use the tools in the text editor to customize your text.
To create text on a new line or format text below a header, make sure to include a space (press Enter twice) between the lines.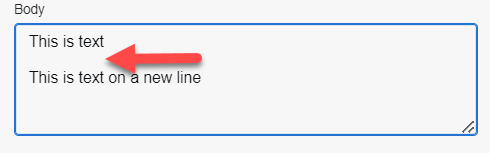
Creating Heading Levels
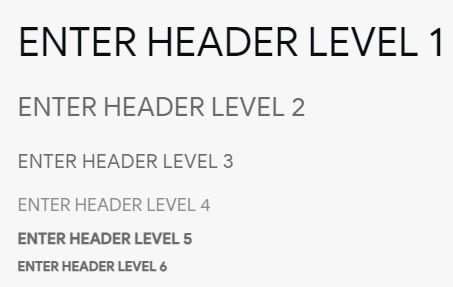
To create heading levels, enter the following before the heading text in the Body section:
-
For Header Level l: #
-
For Header Level 2: ##
-
For Header Level 3: ###
-
For Header Level 4: ####
-
For Header Level 5: #####
-
For Header Level 6: ######
Examples:
-
#ENTER HEADER LEVEL 1
-
##ENTER HEADER LEVEL 2
-
###ENTER HEADER LEVEL 3
-
####ENTER HEADER LEVEL 4
-
#####ENTER HEADER LEVEL 5
-
######ENTER HEADER LEVEL 6

Text Tile Headings Example
Formatting Text
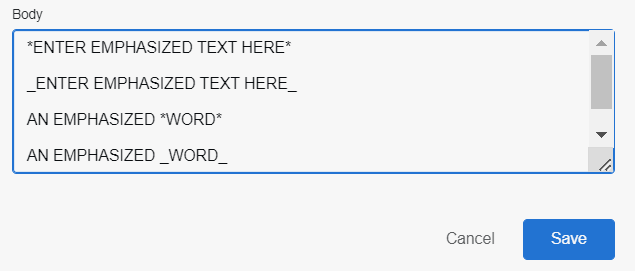
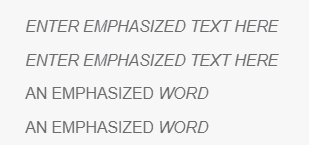
For emphasis (italics) add a single asterisk or single underscore to each side of the word or phrase.
-
Examples:
-
*ENTER EMPHASIZED TEXT HERE*
-
_ENTER EMPHASIZED TEXT HERE_
-
AN EMPHASIZED *WORD*
-
AN EMPHASIZED _WORD_
-
Text Tile
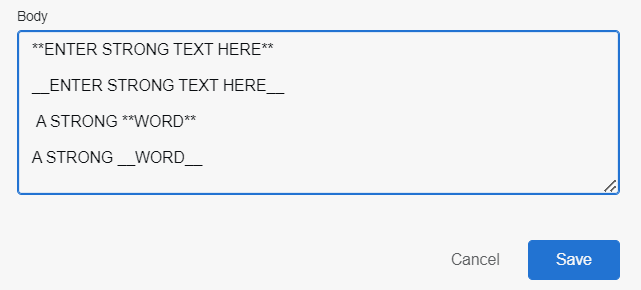
For strong (bold) text, add double asterisks or double underscores (two underscores with no space) to the word or phrase.
Examples:
-
**ENTER STRONG TEXT HERE**
-
__ENTER STRONG TEXT HERE__
-
A STRONG **WORD**
-
A STRONG __WORD__
Text Tile

Combining Custom Text Options
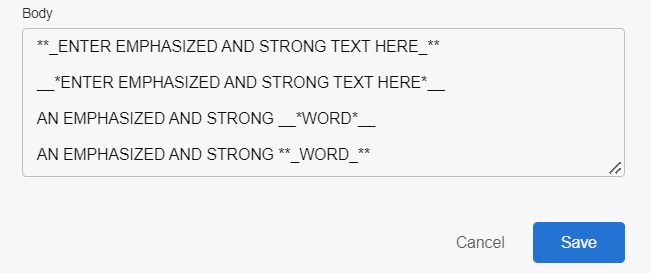
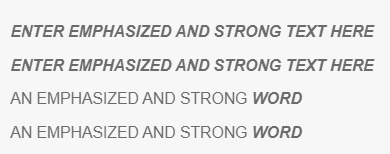
To use strong emphasis (bolded and italicized), combine double asterisks and single underscores, or use double underscores and single asterisks.
-
Examples:
-
**_ENTER EMPHASIZED AND STRONG TEXT HERE_**
-
__*ENTER EMPHASIZED AND STRONG TEXT HERE*__
-
AN EMPHASIZED AND STRONG __*WORD*__
-
AN EMPHASIZED AND STRONG **_WORD_**
-
Text Tile
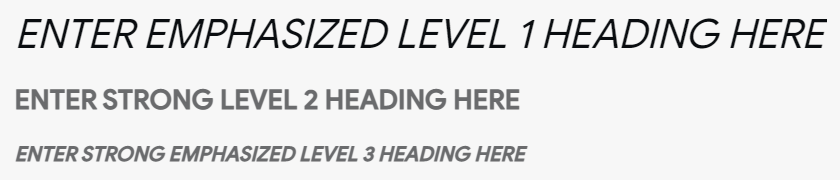
To combine heading and formatting options, include asterisks or underscores with the heading level.
Examples:
-
#*ENTER EMPHASIZED LEVEL 1 HEADING HERE*
-
##**ENTER STRONG LEVEL 2 HEADING HERE**
-
###**_ENTER STRONG EMPHASIZED LEVEL 3 HEADING HERE_**

Text Tile
Adding Custom Images and Logos
To customize your dashboard for specific clients, add logos, icons, and screenshots of ads using text tiles.
You can use text tiles to add images you may otherwise not be able to, such as a line to create a page break.
To add an image:
-
Go to the dashboard's edit mode.
-
Click Add from the upper left of the dashboard, then select Markdown.
-
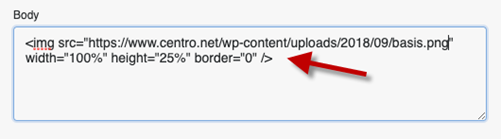
Add the following to the Body section of the Add Text modal: <img src="INSERT DIRECT LINK OF IMAGE" width="100%" height="25%" border="0" />
-
Replace INSERT DIRECT LINK OF IMAGE with the URL of your image, keeping the quotation marks.
The image URL should be stored publicly.
-
-
Click Save.
-
You can then move and resize the tile in the dashboard.
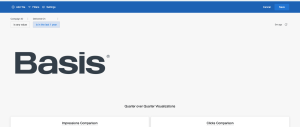
Logo Example
Advertisement Example