Advantage Vendor Billing Reports
A buyer creates the Advantage billing report to upload and track the payment and vendor billing information. The download is a ZIP folder that includes the standard and custom Advantage reports in CSV file format. The files export to Advantage via FTP.
Basis provides integration with the Advantage ERP system. The buyer selects the Advantage ID in the client, vendor, and service provider details. You also select the Advantage Division, Product, Campaign, and Sales Class IDs in the campaign details. (Refer to Create a Campaign.)
To create an Advantage vendor billing report:
-
In Basis:
-
Go to Main Menu [
 ] > My Organization.
 -
Select the Billing tab.
-
Click Download vendor billing. The Vendor billing report saves as a ZIP file.
-
-
Compare the invoice net amount from the vendor billing report and the monthly invoice. Refer to the Vendor Billing Table for field descriptions.
-
In the Vendor billing report file:
-
Update the media net value from the invoice when it doesn't match.
-
Remove the header row.
-
-
Save the CSV report file to an approved directory.
-
In the Advantage ERP System:
-
Upload the report file into the Advantage ERP system when the vendor billing report matches the invoice totals.
-
The net value is generated to export to the ERP system. With margin in Basis, it requires management in the ERP system going forward.
The vendor billing report shows a separate line item for ad serving. The line item corresponds with the row on the client order report by order ID and line number. The line item appears with the first delivery.
Advantage Vendor Billing Example
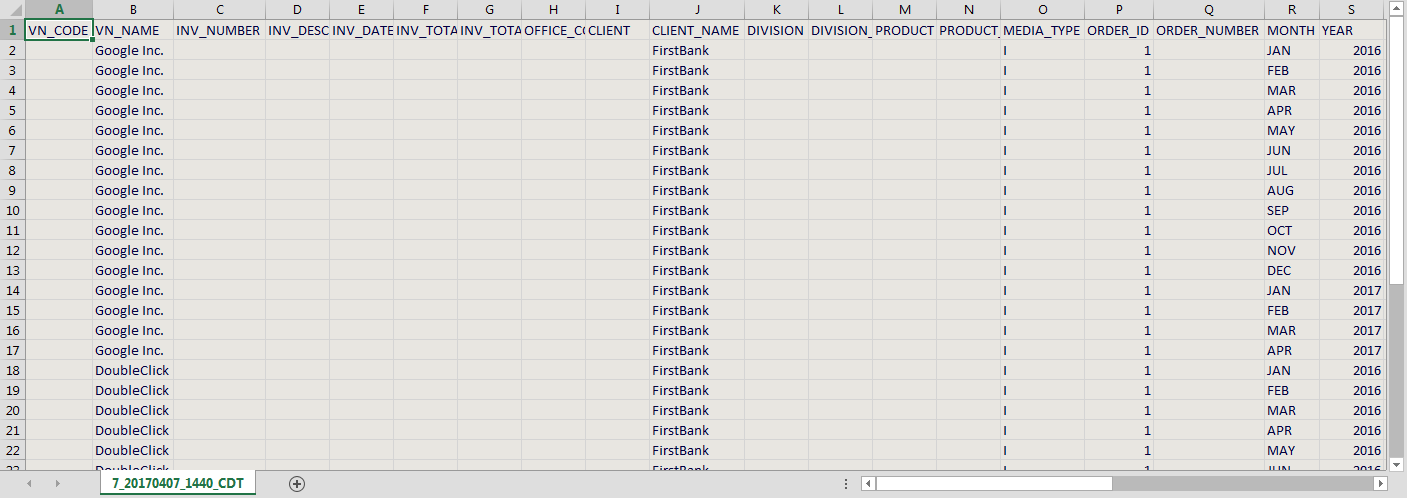
Ad servers not supported by Basis require manual entry of the ID code under the VN_CODE (required) and VN_NAME (optional) prior to upload.