Creating Conversion Pixels
Conversion pixels track when a user completes an action on your website after viewing or clicking an ad linked to one of your tactics.
Conversion pixels are scoped at the brand level--use the conversion pixels you create for any tactic in a campaign for that brand.
To create a conversion pixel:
-
Go to Main Menu [
 ] > Pixels & Audiences.
 -
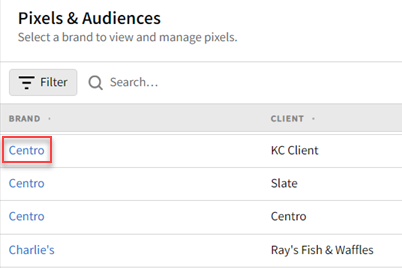
Select a brand. Use search, sort, or filters to find your brand.
-
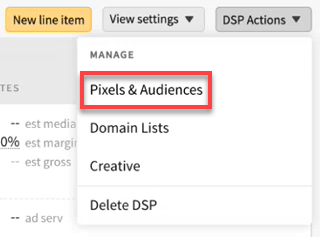
If you already added a DSP line item to a campaign, you can access pixels and audiences from the media plan by selecting DSP Actions > Pixels & Audiences from the line item.
-
-
Select Conversions to view your conversion pixels.
-
Click Create conversion pixel.
-
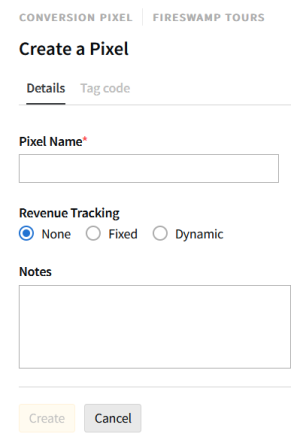
Enter a Pixel Name.
-
Select a Revenue Tracking method. These settings control how the DSP reports calculate click-through conversion (CTC) revenue and view-through conversion (VTC) revenue.
-
Select None if no value is associated with the conversion.
-
Select Fixed if you have a fixed revenue value associated with the conversion. Enter that amount as the Tracking Value.
-
Select Dynamic if the revenue value of a conversion won't be the same every time. See Tracking Conversions with Dynamic Values for more information.
-
-
Enter any Notes you want to include. This can be a convenient place to record how you're using the conversion pixels for other team members.
-
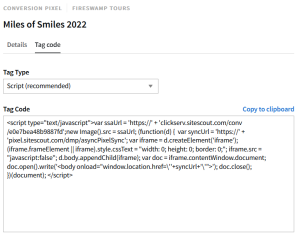
Click Create. Your pixel appears on the Conversions tab, and you can now get the tag code to place on your website. See Getting Audience and Conversion Pixel Tags for more information, including a description of each tag type.