Creating CRM Audiences
![]()
Check out our AdTech Academy Course to learn more!
Before uploading CRM audiences to Basis, review these best practices and recommendations:
-
For best results, upload files that contain at least 10,000 records.
-
Uploading fewer than 1000 records can result in not winning any impressions.
-
From a strategic point of view, 200 records with a 100% match rate is less optimal and results in lower reach compared to 100,000 records with a 70% match rate.
There is a daily upload limit of 3 million records per advertiser—you can upload up to 3 million records across multiple CRM audiences per 24-hour period. There is no limit to the number of records per audience.
-
-
Keep all LiveRamp segments together in the same tactic for maximum scale. Depending on targeting, your setup could be one tactic per LiveRamp segment.
Creating CRM Audiences
In order to upload a CRM list, you must first create a CRM audience. This is the first-party audience that you target with tactics in Basis.
-
Go to Main Menu [
 ] > Pixels & Audiences.
 -
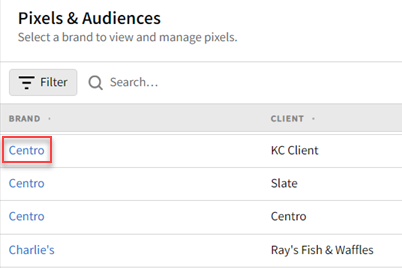
Select a brand. Use search, sort, or filters to find your brand.
-
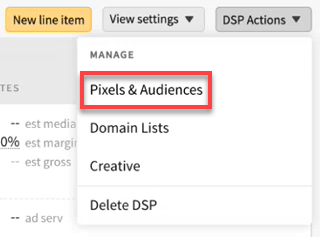
If you already added a DSP line item to a campaign, you can access pixels and audiences from the media plan by selecting DSP Actions > Pixels & Audiences from the line item.
-
-
Select the CRM Audiences tab.
-
Select Create audience.
-
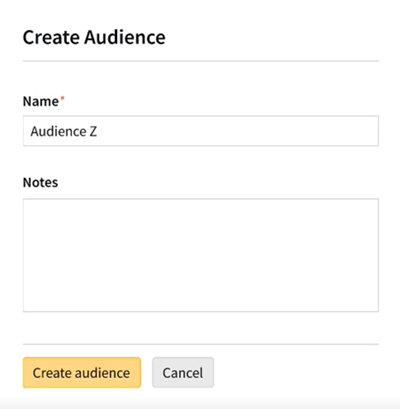
Enter the Name and any notes that you want to include.
-
Select Create audience. The new audience appears on the CRM Audiences tab and is available for targeting in tactics. See
Uploading CRM Lists
After you create an audience, populate it with audience data by uploading a CRM list. After uploading CRM data, you'll see the number of matches, which indicates how many RampIDs LiveRamp was able to map to the records in your file. See CRM Audiences for more information.
LiveRamp continually updates its identity graph with new data points, which can cause RampIDs to shift over time. While these changes are minimal and unlikely to impact campaigns in the short term, they might have an impact in the long term. After 150 days, you can re-upload your audience to refresh the data and ensure match rates remain high.
-
Go to Main Menu [
 ] > Pixels & Audiences.
 -
Select a brand. Use search, sort, or filters to find your brand.

-
If you already added a DSP line item to a campaign, you can access pixels and audiences from the media plan by selecting DSP Actions > Pixels & Audiences from the line item.

-
-
Select the CRM Audiences tab.
-
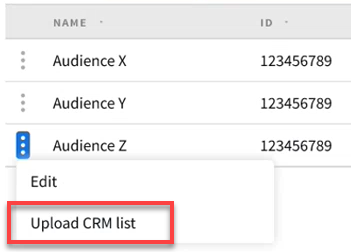
Find the audience that you want to upload data to, then select Options [
 ] > Upload CRM List.
-
Attach the CRM list, then select Upload. The file must be an XLSX file (40 MB maximum) or CSV file (150 MB max). See CRM List Formatting Details to learn more about file requirements or to download a template.
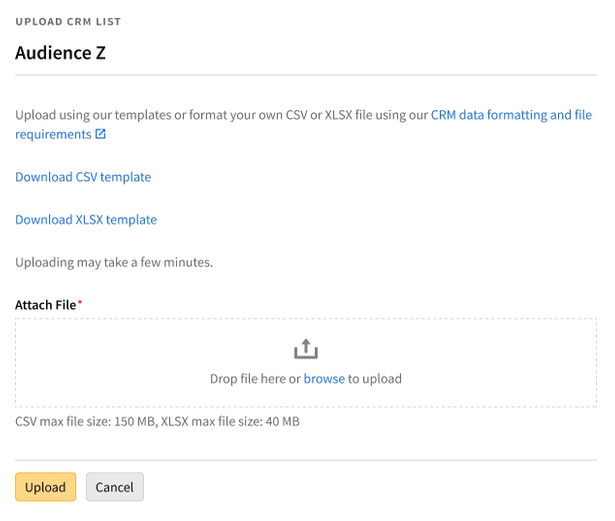
-
Select Close to return to Pixels & Audiences.
Updating CRM Audiences
If you want to add more users to a CRM audience, simply upload another CRM list to that audience. New users will be added as additional records and any duplicate users will be ignored.
For example, if you have a CRM audience with 5,000 users, and you upload a new list that has 1,000 new users, the audience will have 6,000 users total. If the new list has 500 new users and 500 users that are duplicates of previously uploaded records, the audience will have a total of 5,500 records.
If you want to replace the users in a CRM audience, you should create a new audience and upload the data to that one instead.
Adding CRM Audiences to Tactics
After you upload a CRM list to a CRM audience, target the audience with a tactic.
-
Go to the Tactic Editor:
-
Select Main Menu [
 ] > Campaigns.
 -
Select the campaign and media plan.
-
From the tactic's Options [
 ], select Edit.
-
-
Select the Audience tab.
-
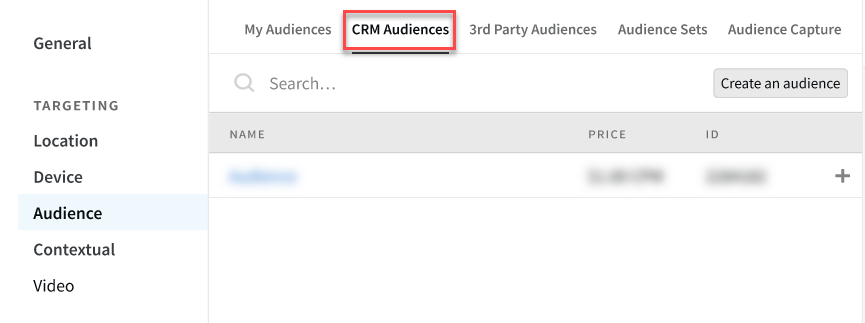
Select CRM Audiences.
-
Select Add [
 ] to target an audience.
The CPM fee to target CRM audiences is $1.50.
-
Select Create an audience if you need to create a new CRM audience.
-
-
Set up your targeting rules. See Audience for more information.
-
Save the tactic.