Customize, Filter, and Save Views
Use filters and custom columns to customize your views on various pages or tabs, such as the Campaigns or Line Items page, or when optimizing tactics.
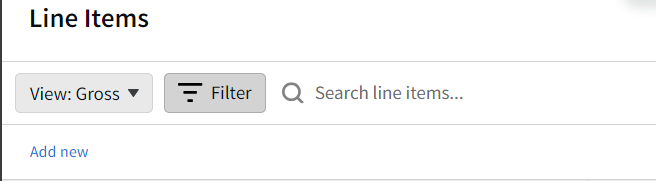
Applying Filters
To apply filters to pages or tabs:
-
Select Filter at top of a page, then select Add new.
-
Select the type of filter you want to apply.
-
Select values for the related options.
-
Select Apply.
-
Repeat these steps to apply as many filters as you need to refine your page.
Delete all filters by selecting [Delete [![]() ]] next to the filter. You can also select the down arrow next the filters to display all filters, and then clear individual filters.
]] next to the filter. You can also select the down arrow next the filters to display all filters, and then clear individual filters.
Customizing Columns
Choose which columns you want to see and the order in which they're listed on the page.
To customize columns:
-
Select Settings [
 ] > Customize columns from the upper-right corner.
 -
Select or clear column boxes to include or exclude columns. Select Select all to include all columns on the panel.
Select the various left-side tabs in the Customize Columns modal to view more field options.
-
Alternatively, use Search to find columns. Select columns from the search results, then select Apply. Selected columns appear at the bottom of the Column Order panel.
The Select all and Unselect all options only apply to the columns in the search results.
On the Analytics tab, each screen, such as the Channel, Line Item, DSP Group or Tactic, has its own set of available metrics. You can customize the columns for each one. See Analytics Metrics for a breakdown of the different metrics available in Analytics.
-
-
In the Column Order list, drag columns to set their order on the page. The top field in the Column Order list is the far left field on the page. The bottom field in the list is the far right field.
-
Select Apply to apply your changes.
To restore the default view settings, select the option under Basis Views in the Settings panel.
Setting Table Density
To set the table density:
-
Select Settings [
]. -
Set the Density to Default or Compact.
Saving Views
Save your customized columns and filters as views so they are easily accessible. Basis includes a default view under Basis Views that you can't edit or overwrite.
Saving views is not available for Channels on the Analytics tab.
To save a view:
-
Select Settings [
]. -
Customize columns and apply filters as needed to refine your data.
-
Select Save as new view.
-
Enter a new View Name.
-
Select Save. Your new view appears on the Settings panel under Your Saved Views. Views are sorted by most recently created.
To edit a view's name, click Edit [![]() ]. To delete a view, click Delete [
]. To delete a view, click Delete [![]() ].
].
Updating Saved Views
To update a saved view:
-
Select a saved view.
-
Edit the columns or filters.
-
After applying your changes, from the Settings panel, select Save changes to the selected view.
