Creating a New Client
When you create a new client, you must have Organization Management permissions to create a new client, and you must include a billing address and contact information.
To create a new client:
-
Go to Main Menu [
 ] > My Organization.
 -
Select the Clients/Brands tab.
-
Click New Client.
-
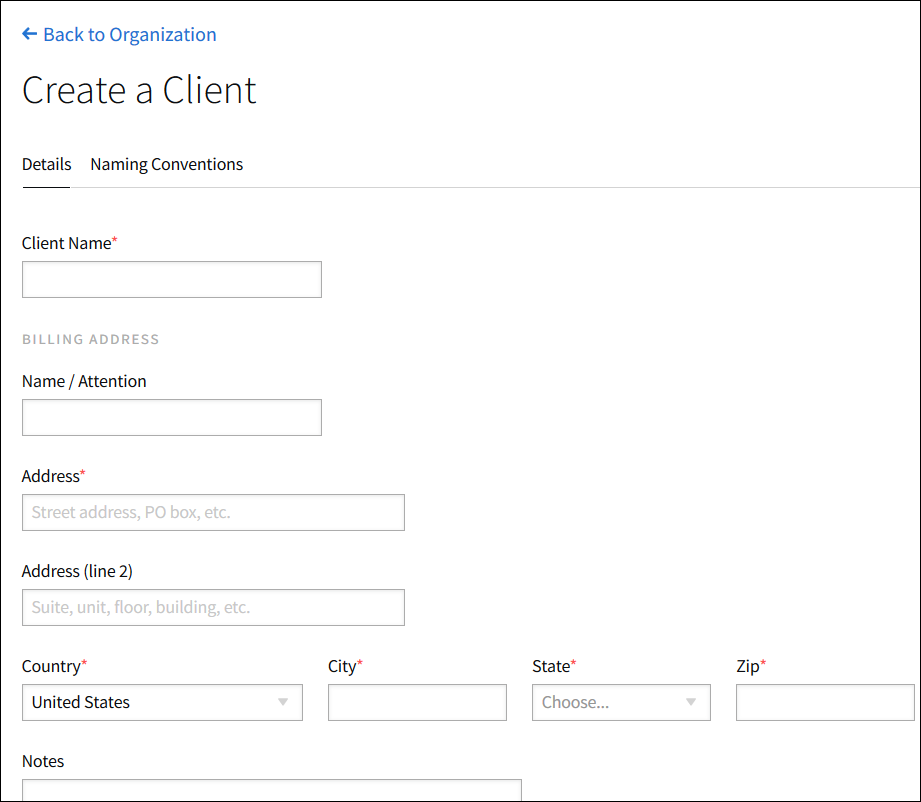
In the Details tab, enter the Client Name.
Advantage Users Only: Select the Advantage ID, if applicable.
-
Enter the Billing Address:
- Name/Attention
- Address
- Address (line 2)
- Country
- City
- State/Province/Region (required for United States of America)
- ZIP/Postal Code (required for United States of America)
- Notes
-
Enter the Billing Contact info:
- First Name
- Last Name
- Phone/Extension
-
Select a brand from Manage Brands.
-
Select Create a new brand to create a new one.
-
Enter the Brand Name.
-
Select the Vertical.
If you are creating a brand for political campaigns, select the Sensitive Categories > Political (Elections) vertical to see additional fields for political ad details. These details apply to every ad that is uploaded for this brand.
-
-
Select the users that can access campaigns for this client from User Access if applicable.
-
Select Create.
-
If you have Payment Terms permissions, you can add Terms & Conditions to clients. See Creating Client Terms & Conditions for more information.
-
If you want to use naming conventions for this client, select the Naming Conventions tab. See Creating a Naming Convention Formula for more information.